
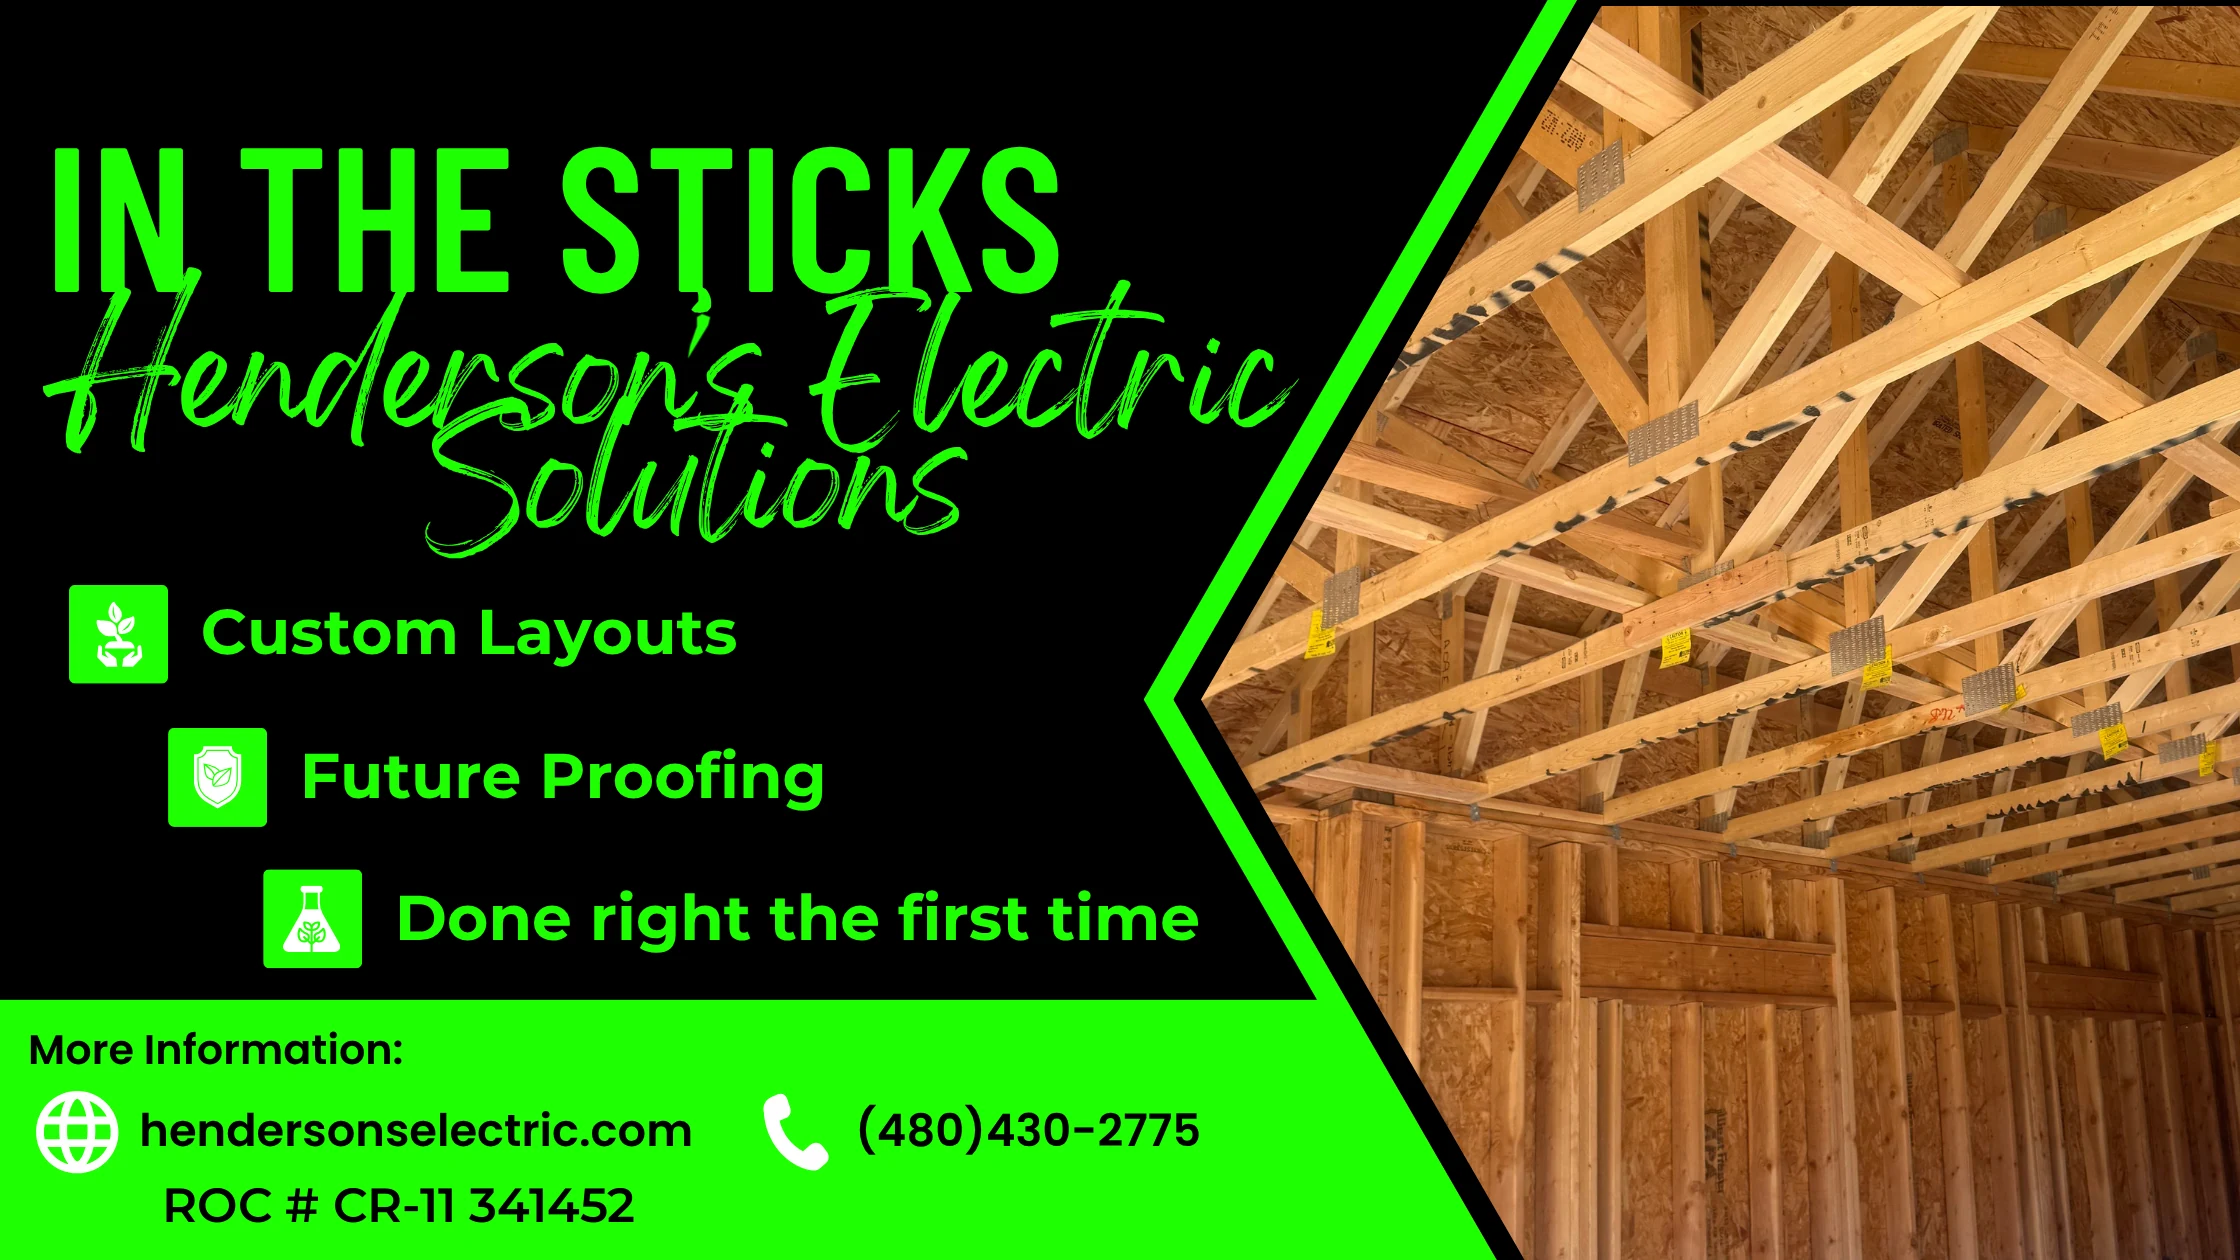
There’s nothing quite like walking a custom home while it’s still “in the sticks.” The studs and trusses are up, the walls are open, and you can finally picture how each room will feel. For our team in Queen Creek, this is the most exciting stage of a custom build, because it’s when the electrical plan stops being lines on a blueprint and becomes real.
Short answer: The electrical rough-in walkthrough happens after framing and before insulation and drywall. Walk every room with your electrician and confirm outlet, switch and fixture locations, dedicated circuits, low-voltage and data runs, EV charger and future-load pathways, and panel location. Changes are easy now and costly once the walls close.
Here’s how to get the most out of that walkthrough, whether you’re building in Gilbert, San Tan Valley or anywhere in the East Valley.
What is an electrical rough-in?
Rough-in is the stage where boxes are mounted on the studs and wire is pulled to every outlet, switch, light and appliance location, but nothing is connected to devices yet. Low-voltage wiring for data, TV, speakers and cameras usually goes in at the same time. Your city or county inspects the rough electrical before insulation and drywall cover it up.
When do the walkthroughs happen?
We do two walkthroughs: one at the start of rough-in, when boxes are being placed, and again before the rough inspection. The first visit is for decisions. The second is for confirming that what you decided is what got installed. We coordinate the timing with your builder so the framer, plumber and HVAC crew aren’t held up.
What should I check room by room?
Kitchen
- Island outlets, plus pendant locations centered on the island
- Dedicated circuits for the range, wall ovens, microwave, dishwasher, disposal and refrigerator
- Under-cabinet lighting feeds and switch locations
- Outlets inside an appliance garage or pantry, if you want them
Living room and media spaces
- TV locations, with power and a data or HDMI conduit behind each one
- Floor outlets for furniture that floats in the room
- Speaker wire for surround sound or ceiling speakers
- Recessed lighting zones on separate dimmers
Bedrooms and offices
- Outlets on both sides of the bed, and switches you can reach from it
- Ceiling fan boxes rated for a fan, not just a light
- Wired data in the home office
- Enough outlets at the desk wall so you’re not relying on power strips
Garage and exterior
- A 240-volt circuit or conduit for an EV charger, even if the car comes later
- Outlets for a garage fridge, freezer or workbench
- Exterior outlets at the patio, BBQ area and front yard, with in-use covers
- Pre-wire for landscape lighting, security cameras and permanent roofline lighting
- Power for pool and spa equipment, if they’re in the plan
How do I plan for EV chargers and future loads?
The framing stage is the easiest time to future-proof. Ask for empty conduit from the panel to the garage, attic and any spot where you might add an EV charger, a casita or an outdoor kitchen later. If you’ll eventually have two EVs or the panel is sized tight, Randy can plan for a power-monitoring, load-managing EV charger that adjusts charging automatically so the panel isn’t overloaded. Our EV charger installation page covers the details, and our casita electrical planning guide helps if a guest house is on the horizon.
What about the panel and surge protection?
We calculate the home’s total load, then size and lay out the panel so breakers are organized, labeled and leave room to grow. Subpanels for a detached garage or casita are planned now, too. We usually install Square D or Eaton panels and materials. We include a whole-home surge protector at the panel. The current electrical code requires whole-home surge protection when a home’s electrical service is installed or replaced, so we include it on every job that touches the panel and recommend it for every home. It helps protect appliances, HVAC equipment and electronics from monsoon surges. More on that in our panel upgrades page.
Should I pre-wire for smart lighting and controls?
Yes, if there’s any chance you’ll want it. Smart switches and keypads usually need a neutral wire in the switch box, and some centralized lighting systems need dedicated wiring runs to a control panel. Getting that in while the walls are open is simple. See our lighting controls page and our post on layered lighting for ideas.
Rough-in walkthrough checklist
- Bring your final floor plan, furniture layout and appliance specs
- Mark TV, desk, bed and sofa locations on the floor with tape
- Confirm every outlet, switch and fixture location against the plan
- Check that switches are on the latch side of doors
- Confirm dedicated circuits for every major appliance
- Confirm EV, casita and outdoor conduit runs
- Confirm low-voltage, data and speaker runs
- Take photos and video of every wall before insulation, for future reference
Those photos are worth their weight in gold years from now, when you want to hang a heavy mirror or add an outlet and need to know what’s behind the drywall.
Is it safe to walk a home at the framing stage?
Only with the builder’s permission and when they or your electrician are with you. Wear closed-toe shoes, watch for nails, open floor framing and stair openings, and don’t touch any wiring or boxes, even if the power isn’t on yet. Temporary construction power may be live on site.
When should I call an electrician?
Bring your electrician in before framing even starts, when you’re finalizing the floor plan and lighting design. That’s when the big decisions, like panel location, service size and lighting control approach, are easiest. After move-in, call us if breakers trip often, outlets feel warm or you smell burning. If you see sparks or smoke, stay away, turn off the breaker only if it’s safe and dry to reach, and call 911 for any fire.
Serving Queen Creek and the East Valley
We wire custom homes in Queen Creek, San Tan Valley, Gilbert, Mesa, Chandler, Florence, Scottsdale, Apache Junction and Gold Canyon, Sun Lakes, Tempe, Cactus Forest, Coolidge, Paradise Valley and Ahwatukee.
Frequently asked questions
What is an electrical rough-in walkthrough?
It’s a walk through your framed home with your electrician, before insulation and drywall, to confirm every outlet, switch, fixture, dedicated circuit and low-voltage run is where you want it.
When does the electrical rough-in inspection happen?
After the boxes and wiring are installed and before insulation and drywall go up. Your city or county inspector has to approve the rough electrical before the walls can be closed.
Can I add outlets after the drywall is up?
Yes, but it means cutting and patching walls, and it’s harder to route wire. It’s much easier to add an outlet or conduit during rough-in.
Should I pre-wire for an EV charger in a new home?
Yes. Even if you don’t own an EV yet, a 240-volt circuit or empty conduit to the garage makes a future charger install simple. If panel capacity is tight, a power-monitoring, load-managing EV charger can help.
What low-voltage wiring should I add during framing?
Common runs include data cable to offices and TVs, conduit behind wall-mounted TVs, speaker wire, security camera locations and wiring for a lighting control system.
What panel brands do you install?
We usually install Square D or Eaton panels and materials, sized and laid out for the home’s load with room to grow.
Building a custom home?
Henderson’s Electric Solutions LLC is a family-owned electrical contractor in Queen Creek, owned by Randy and Tori Henderson. Randy is our licensed electrician (ROC CR-11 #341452), and we’re bonded, insured and BBB accredited. Our team, Randy, Mikal, Justin and Tori, loves this stage of a build.
Call Randy at (480) 430-2775 or request an estimate online. Regular hours are Monday through Friday, 6 AM to 6 PM, and we answer emergency calls 24/7. Solutions Only - No Excuses.